In the dynamic world of content creation, video has become an indispensable medium. Whether you’re a vlogger, marketer, educator, or simply someone who loves capturing life’s moments, mastering the art of iPhone filming can elevate your storytelling game. In this comprehensive guide, we’ll delve into the step-by-step process of recording high-quality videos using just your trusty iPhone.
Why Choose Your iPhone for Filming?

1. Portability and Convenience
- The iPhone’s compact and lightweight design allows you to film anytime, anywhere. No need for bulky camera gear—just whip out your phone and start shooting.
- With built-in apps and seamless integration with various accessories, your iPhone becomes an all-in-one filmmaking tool.
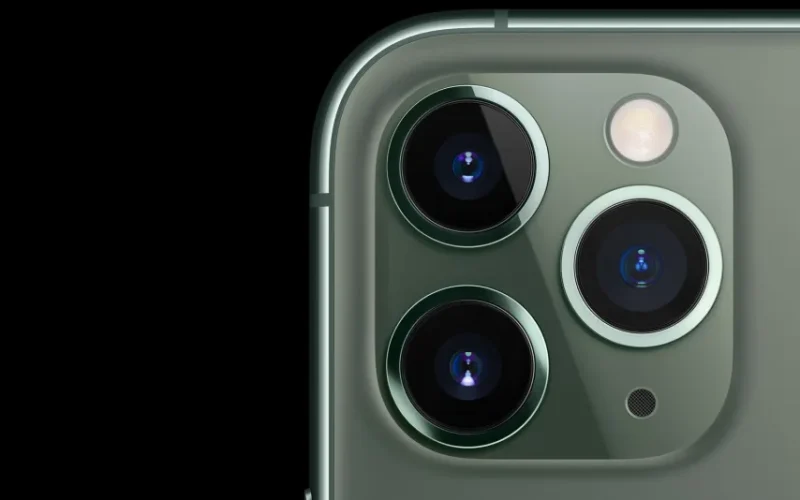
2. High-Quality Footage
- Thanks to advanced camera technology and powerful image processing capabilities, iPhones can capture stunning videos with excellent clarity and detail.
- Say goodbye to grainy, pixelated footage—your iPhone delivers professional-grade visuals.
3. Cost-Effectiveness
- Compared to professional camera equipment, an iPhone offers a budget-friendly solution for creating compelling videos.
- Invest in creativity, not just gear!
4. User-Friendly Interface
- iPhones are intuitive and user-friendly, making it easy for beginners to dive into filmmaking without a steep learning curve.
- No technical jargon—just focus on telling your story.
Mastering iPhone Filming: A Step-by-Step Guide
1. Understanding the Basics of Videography
- Frame Rate: Learn how the number of frames recorded per second affects motion smoothness.
- Resolution: Explore different resolutions (such as 4K) and their impact on video clarity.
- Exposure: Control lighting to avoid overexposure or underexposure.
- White Balance: Achieve accurate colors in varying lighting conditions.
2. Preparing Your iPhone for Filming
- Clean your camera lens for crystal-clear shots.
- Stabilize your iPhone—use tripods, gimbals, or handheld techniques.
- Set up lighting to enhance your subject and scene.
3. Choosing the Right Apps
- Discover powerful video recording and editing apps available on the App Store.
- From manual controls to creative filters, explore the options.
4. Mastering Composition and Framing
- Learn about the rule of thirds, leading lines, and other composition techniques.
- Frame your shots to create visually appealing videos.
5. Lighting Techniques for High-Quality Videos
- Natural light, softboxes, or ring lights—understand how lighting impacts your visuals.
- Experiment with different setups to find your signature look.
6. Capturing Clear and Professional Sound
- Invest in external microphones for crisp audio.
- Avoid noisy environments and prioritize sound quality.
7. Advanced Filming Techniques and Accessories
- Dive deeper into slow-motion, time-lapse, and cinematic shots.
- Explore lenses, filters, and other accessories to level up your iPhone filmmaking.
8. Editing and Post-Production Tips
- Use iMovie, Adobe Premiere Rush, or other editing apps to refine your footage.
- Add music, transitions, and colour grading to enhance your storytelling.
9. Sharing and Promoting Your Videos
- Upload to social media platforms, YouTube, or your website.
- Engage with your audience and build a community around your content.
Recording high-quality videos with your iPhone in 2024 is easier than ever. Below are the following steps.
Choose the Right App:
- Explore the best video recording apps available for iPhone. These apps offer various features and cater to different skill levels.
- Look for user-friendly apps that allow you to learn at your own pace, especially if you’re a beginner.
- Consider apps that support 4K recording quality for stunning visuals.
Enable Screen Recording:
- Go to your iPhone’s Settings.
- Navigate to Control Center and add Screen Recording to your control options.
- Access Control Center by swiping down from the top-right corner of your screen.
- Tap the gray Record button to start recording.
- Choose a high-quality video resolution to ensure excellent output.
HDR Video Recording:
- HDR (High Dynamic Range) enhances video quality by capturing more detail in highlights and shadows.
- Open the Settings app on your iPhone.
- Scroll down to Camera and select Record Video.
- Toggle on HDR Video (High Efficiency) to enable HDR recording.
Adjust Camera Settings:
- Go to Settings > Camera > Record Video.
- Depending on your iPhone model:
- Use Auto FPS to apply auto frame rate settings (30 fps or both 30 and 60 fps).
- Turn on Auto Low Light FPS for better performance in low-light conditions.
- Enable stereo recording for richer audio using multiple microphones.
Stabilize Your iPhone:
- Invest in a tripod or stabilizer to avoid shaky footage.
- Use the built-in stabilization features of your iPhone.
- Hold your iPhone with both hands and keep it steady while recording.
Lighting Matters:
- Shoot in natural light whenever possible.
- Avoid harsh shadows and direct sunlight.
- Use soft, diffused lighting for a professional look.
Audio Quality:
- Invest in an external microphone for better audio.
- Record in a quiet environment.
- Avoid recording in windy conditions.
Composition and Framing:
- Follow the rule of thirds for balanced composition.
- Pay attention to framing and ensure your subject is well-positioned.
- Experiment with different angles and perspectives.
Editing and Post-Production:
- Use apps like iMovie or Adobe Premiere Rush for editing.
- Trim clips, add transitions, and enhance colours.
- Export your final video in the desired format.
Practice and Experiment:
- The more you practice, the better your videos will become.
- Try different techniques, explore new apps, and learn from your mistakes.